
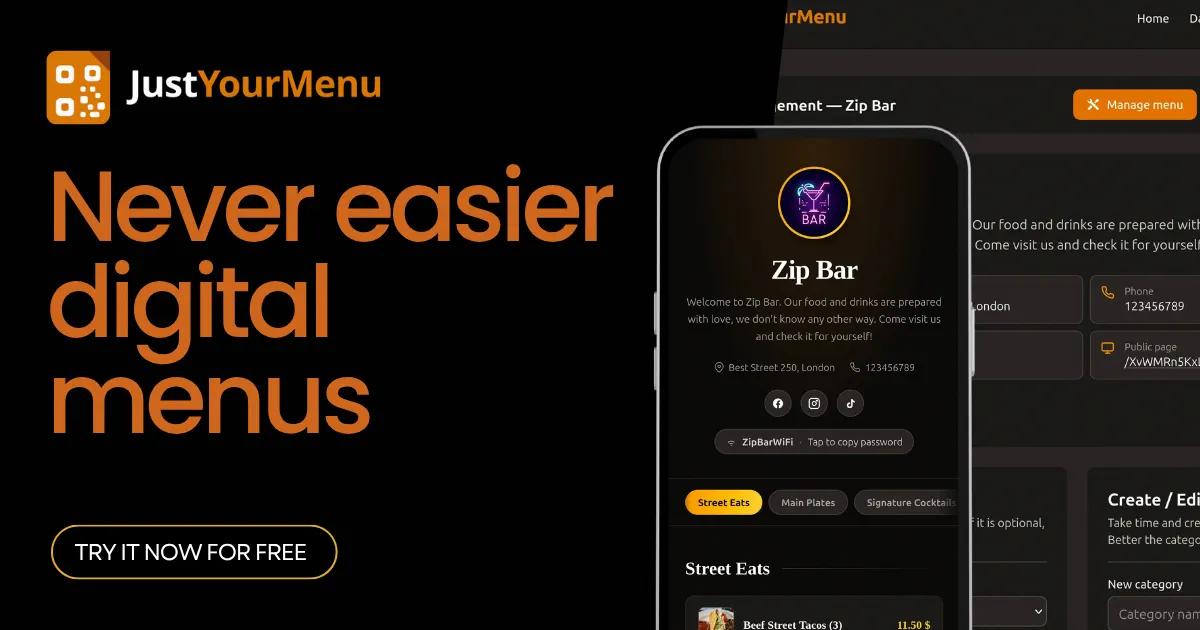
Printed menus are a pain. Every price change means a reprint, every allergen update means a reprint, and if you open a second location you're now managing two stacks of paper instead of one. A digital menu fixes all of that. Guests scan a QR code on the table, see your up-to-date menu on their own phone, and you can change anything (prices, photos, availability, wifi password) in seconds from your dashboard.
This guide walks through building your first digital menu with JustYourMenu, start to finish. It takes about 10 minutes.
1. Sign up and start your trial
No credit card required. Create your account and your trial starts right away. Your menu is live from that moment, and you can share it with real customers during the trial, not just preview it.
2. Give your menu a name
From your Dashboard, you'll be asked to name your first menu. Use your restaurant, café, or location name. This is what guests see at the top of the menu.
3. Fill in the details and create your categories
Open Manage Menu next to your new menu. This is where you set things like:
Theme — pick from several themes built for speed and readability on mobile. Switch anytime.
Name and description — the description is optional, a short welcome line under the menu name.
Currency — use a symbol ($) or write it out (USD, EUR, etc.).
Location — useful if you're running more than one menu across locations.
Phone and socials — optional, but an easy way to stay connected with guests.
Wifi name and password — guests can tap to copy the password instead of typing it in.
Logo — your logo or a photo that fits the space.
Visibility — toggle the menu on or off whenever you need to.
Then, in Categories, add each section of your menu (Starters, Mains, Drinks, etc.) with a name and an order number to control how they're sorted.
4. Add your items
On top in the Menu management, click on Add / Edit Items and you will be greeted with two sections.
From Add / Edit Items, fill in each item:
Category — which section it belongs to
Name and description — description is optional
Price — in the currency you chose earlier
Allergen notice — a short note in your own words, shown to guests as a badge on the item
Availability — mark something unavailable and it stays visible but grayed out, so guests know it exists without being able to order it
Image — not required, but items with photos tend to get more attention
Any change here updates instantly. The next person who scans your QR code sees it immediately.
5. Go live
Your menu has been live since step 1, so this step is really just wrapping up:
Click Visit public page to see it as your guests will.
Click Download QR code for a high-resolution QR code, ready to print.
Or click Download Print card for a ready-made table card that already includes your QR code, menu name, location, and wifi info.
Print it, set it on your tables or by the door, and you're done. No designer needed.
FAQ
Do I need a credit card to start a trial? No. Sign-up starts your trial immediately, no card required.
Can I change my menu's theme after I've already set everything up? Yes, anytime, without losing your items or categories.
Will guests notice if I update a price or mark something unavailable? Yes — changes show up the next time someone scans your QR code or opens the menu link.
Is there a limit to how many items or categories I can add? That depends on your plan. Check the pricing page for current limits.
Ready to put together your own QR code menu? Start your free trial and have it live in the next few minutes.